Adding Multiple Events To A Basket
This guide will show you how to add multiple events to a basket.
For this example, I am going to use the demo system. In the admin module for the demo system, I previously created two example events. Event A and Event B.
I\’m now going to book each of these events, add them to my basket and pay for them.
To start, open your PlanIt-BookIt system in a browser. If you have login details then log in to the system. Events can be created for non-members so it\’s not always essential to log in to the system in order to book events.
Next click on View Forthcoming Events link from the home page of PlanIt-BookIt.
This will take you to the forthcoming events page. On this page, you can see the two events that I created earlier, Event A and Event B.
To book an event you click on the blue tick (or checkmark) icon. Clicking on this icon for Event A gives…
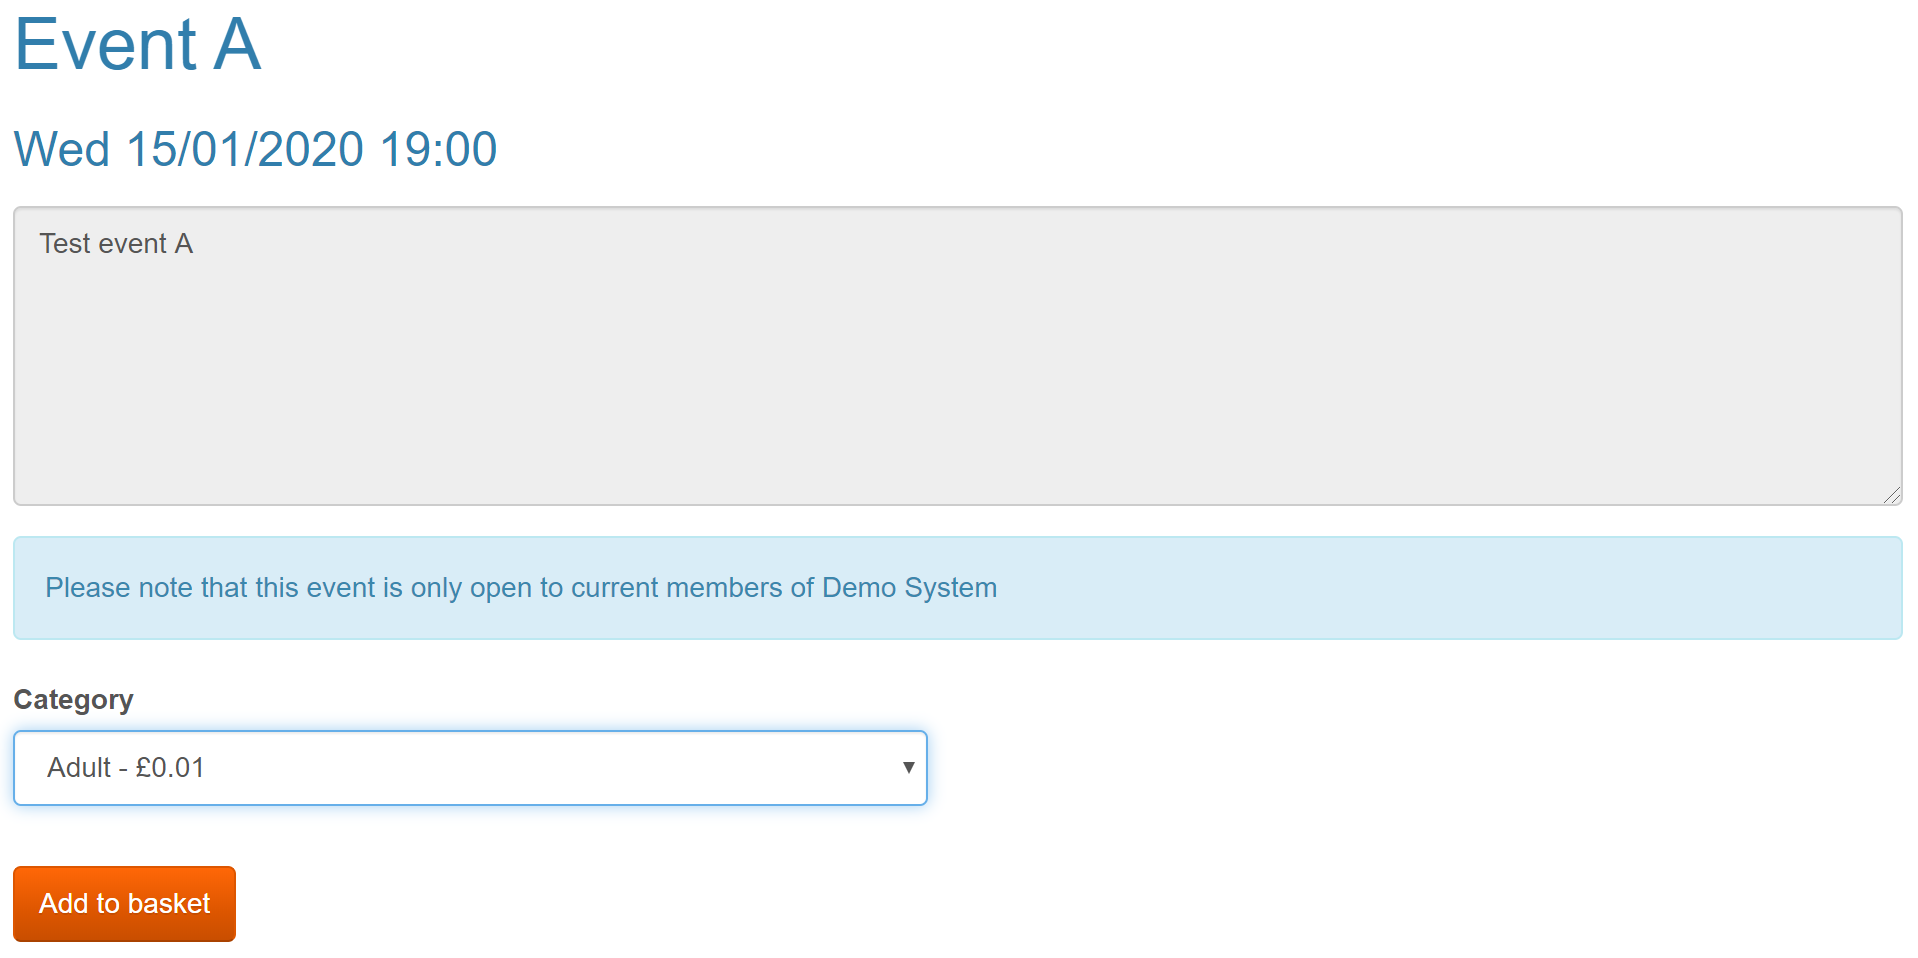
In this example, I have selected the Adult category at a cost of £0.01. Next, I click the \’Add to basket\’ button.
Your basket of events displays at the bottom of the screen. Currently, it only has one event in it, Event A.
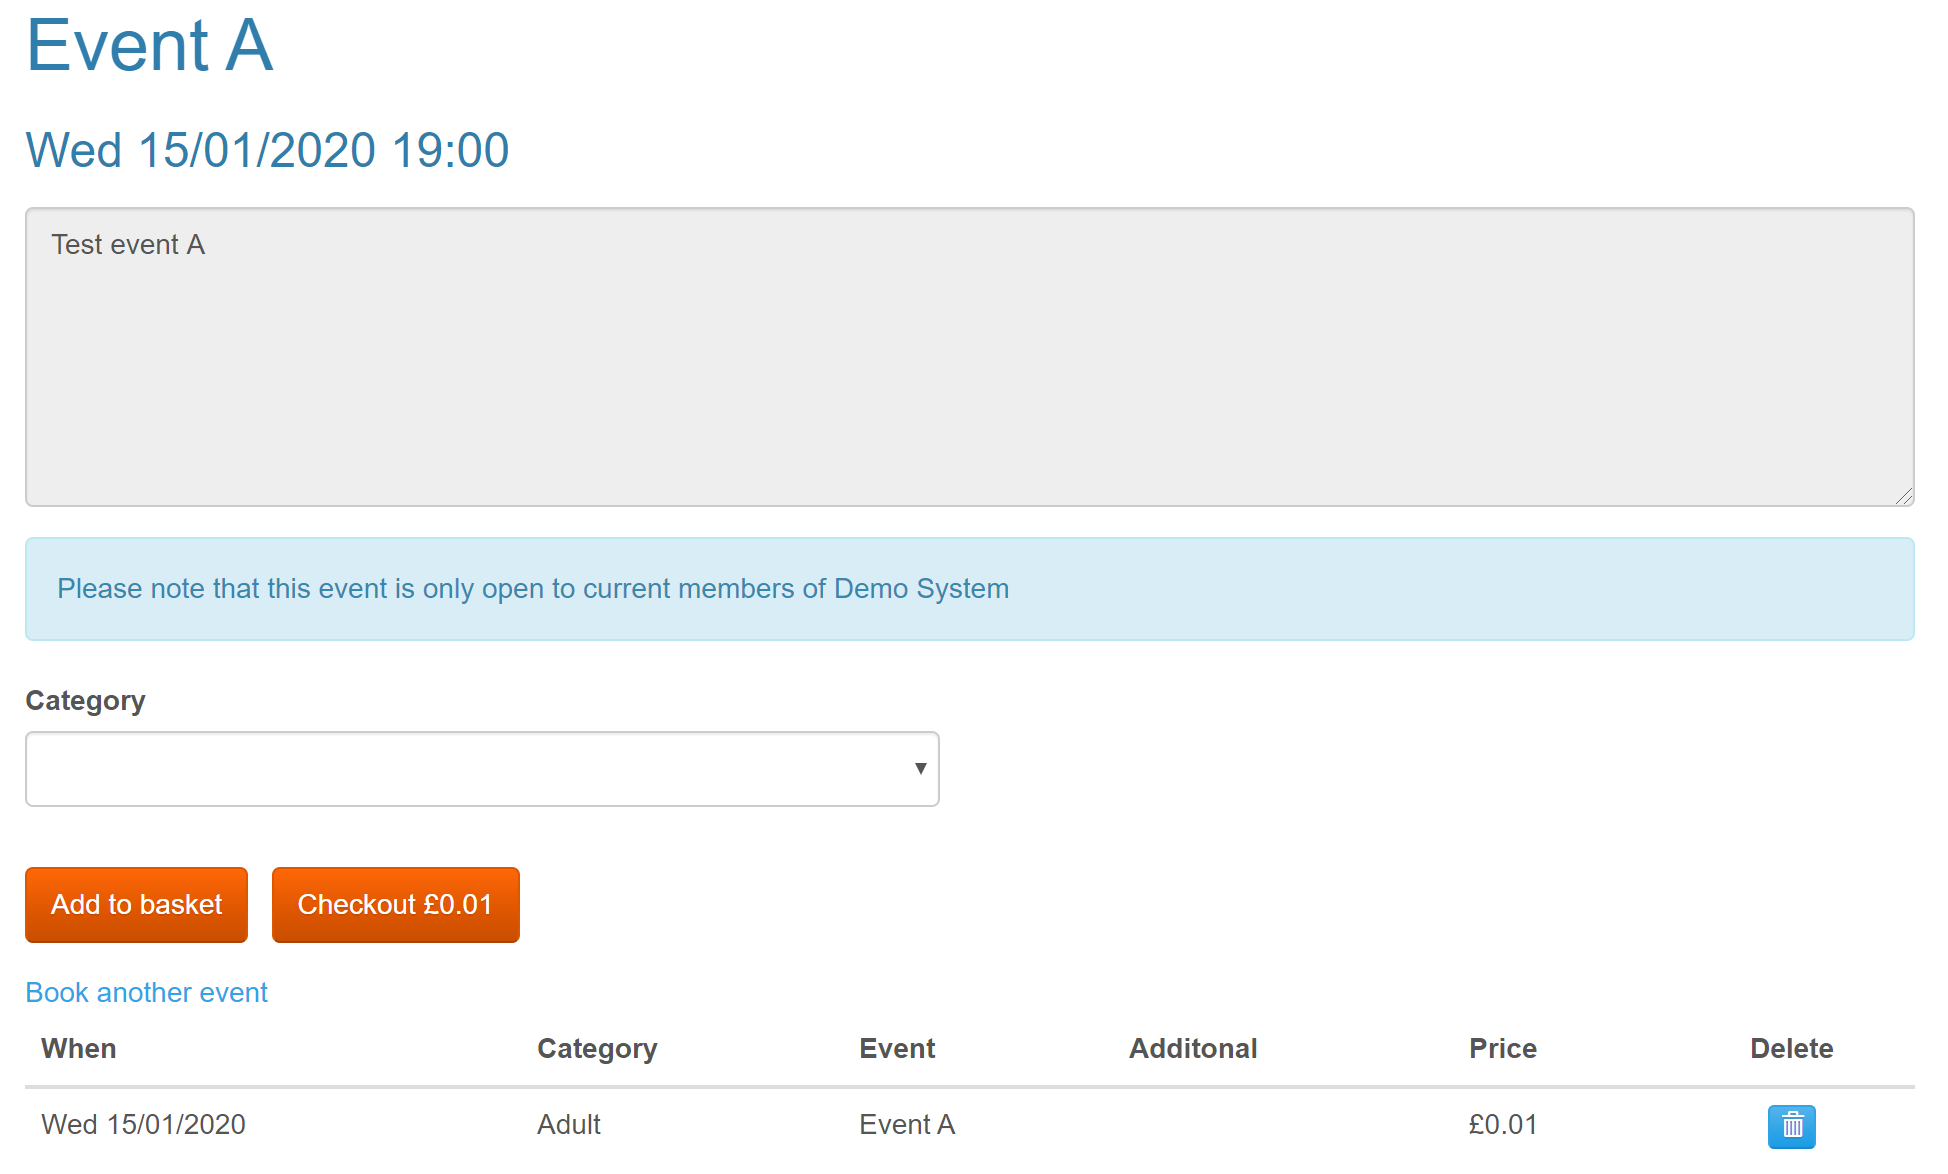
At this point, you could press the checkout button and just pay for Event A in your basket. However, we will continue and also add event B to our basket.
To book another event click on the \’Book another event\’ link displayed just below the \’Add to basket\’ button. Clicking this link takes you back to the forthcoming events screen.
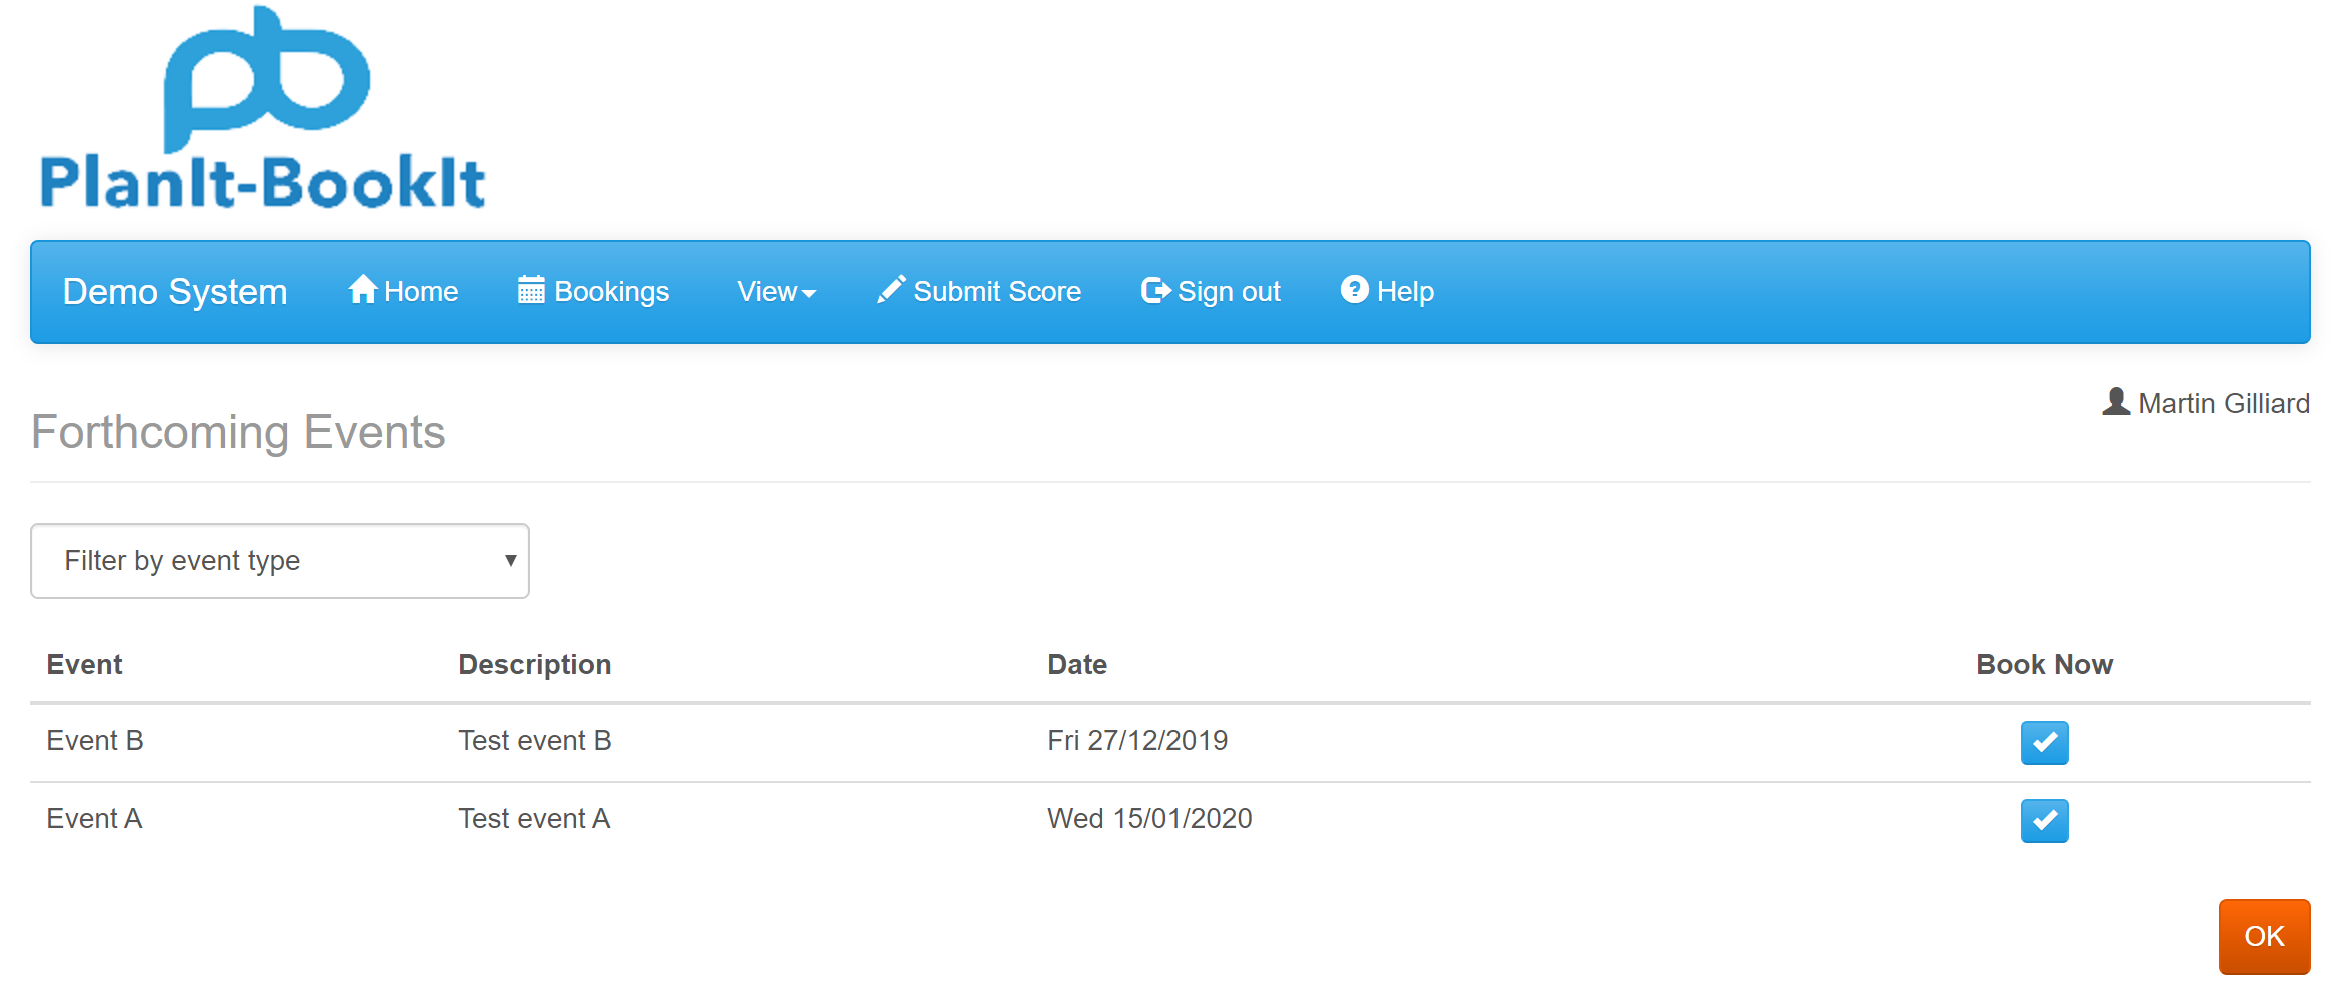
This time I\’m going to book Event B by clicking on the blue tick icon next to it.
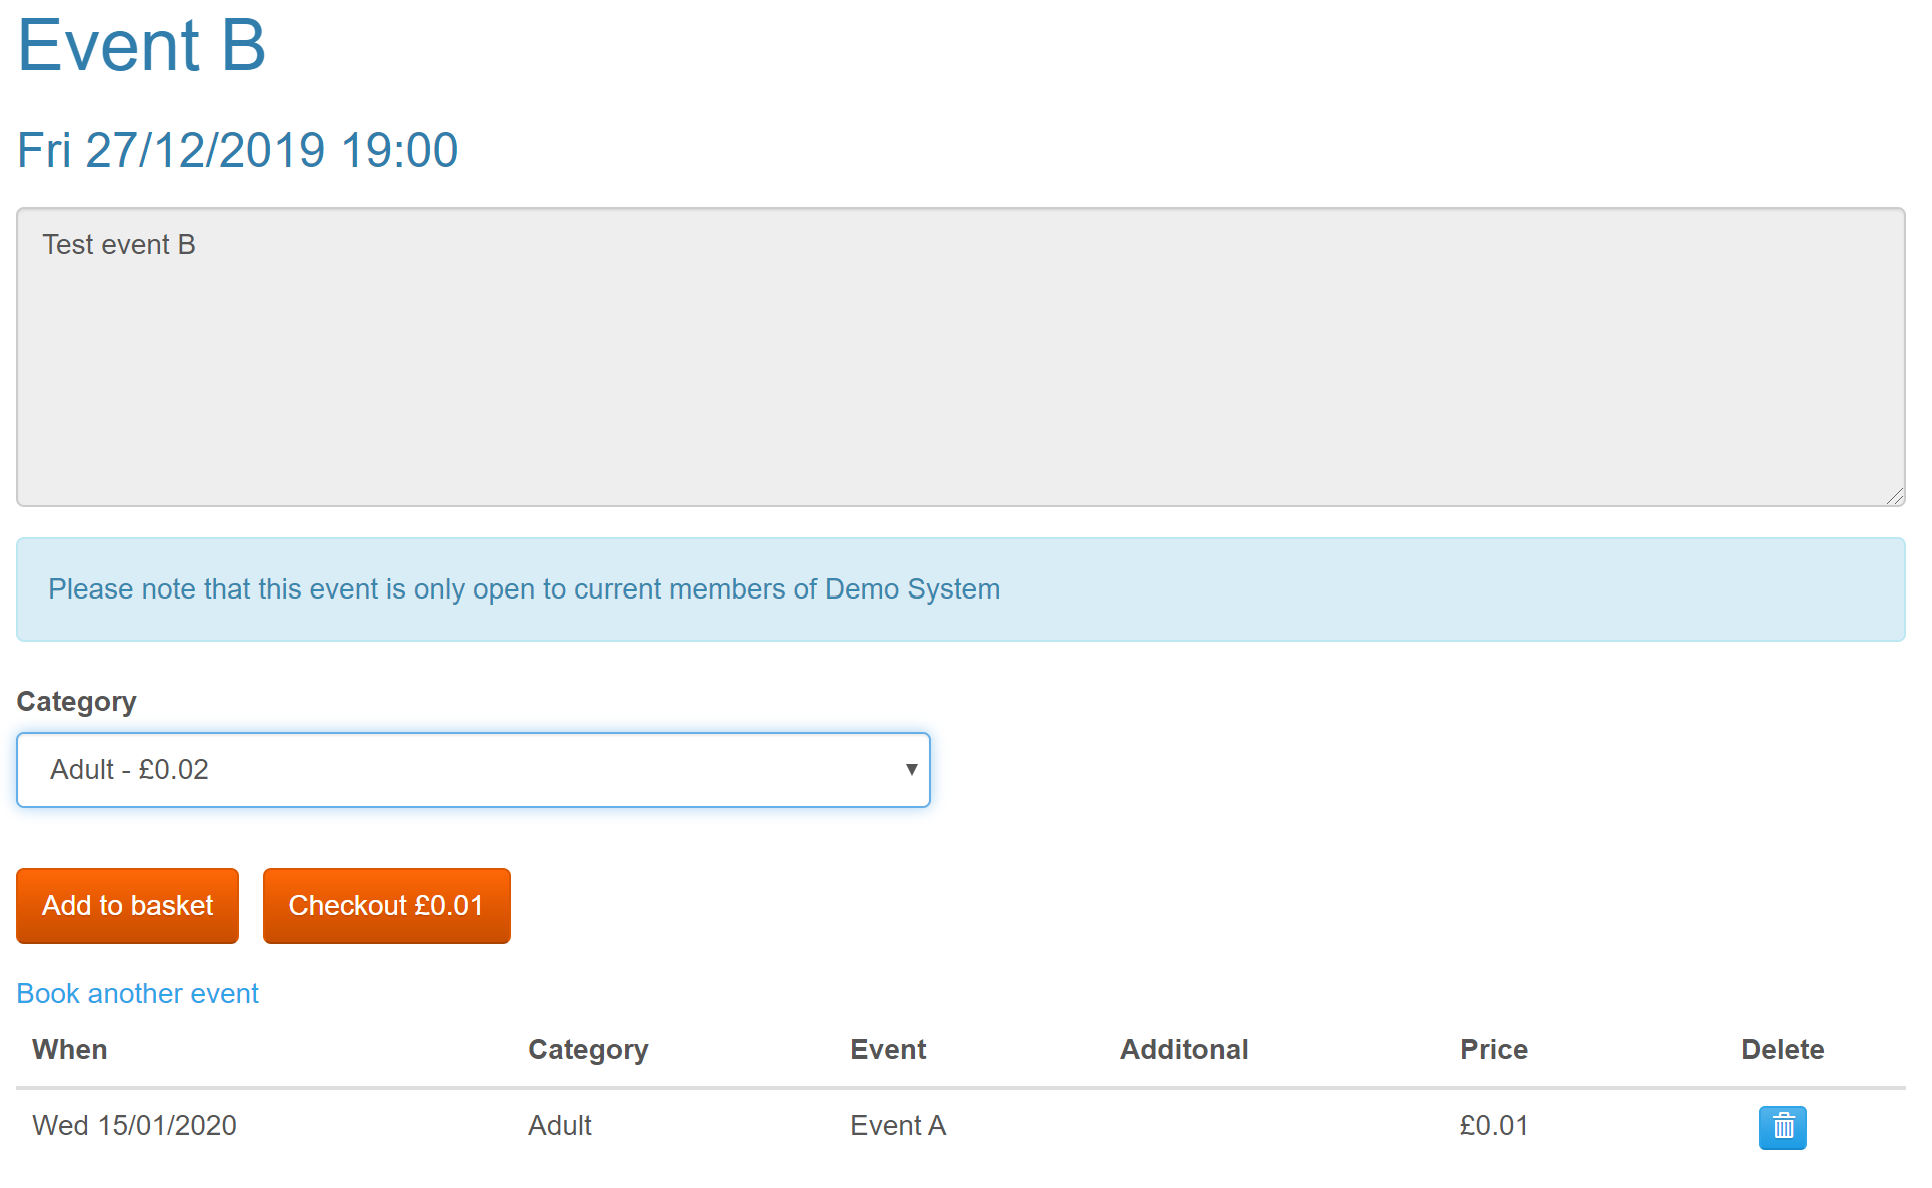
This event has the Adult category set at £0.02. Selecting this category and clicking the \’Add to basket\’ button gives…
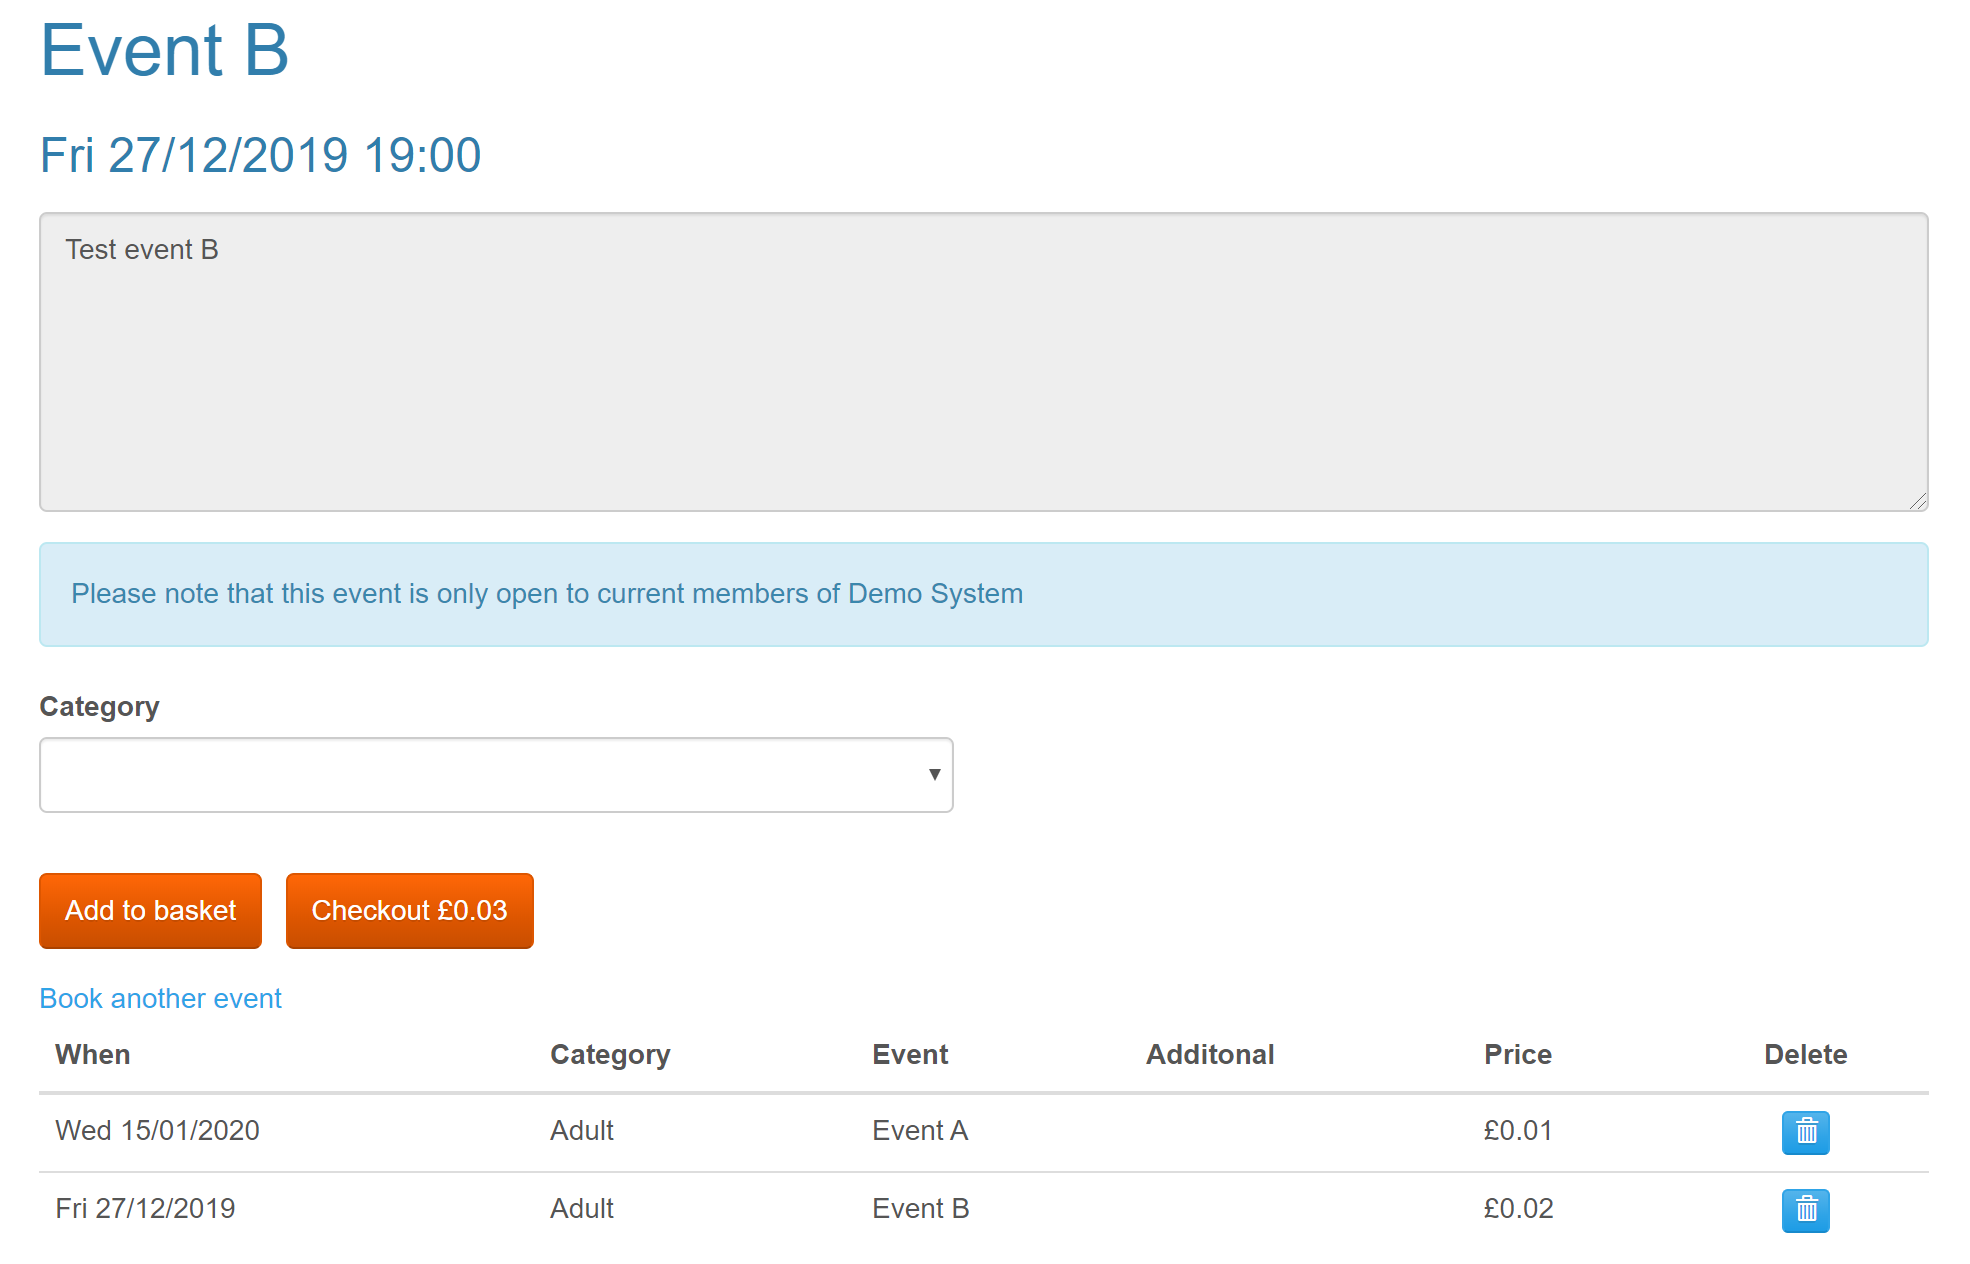
Now I have the two events, Event A and Event B in my basket I am now ready to checkout.
So, next, I click the \’Checkout £0.03\’ button.
This takes us to the Booking Payment screen…
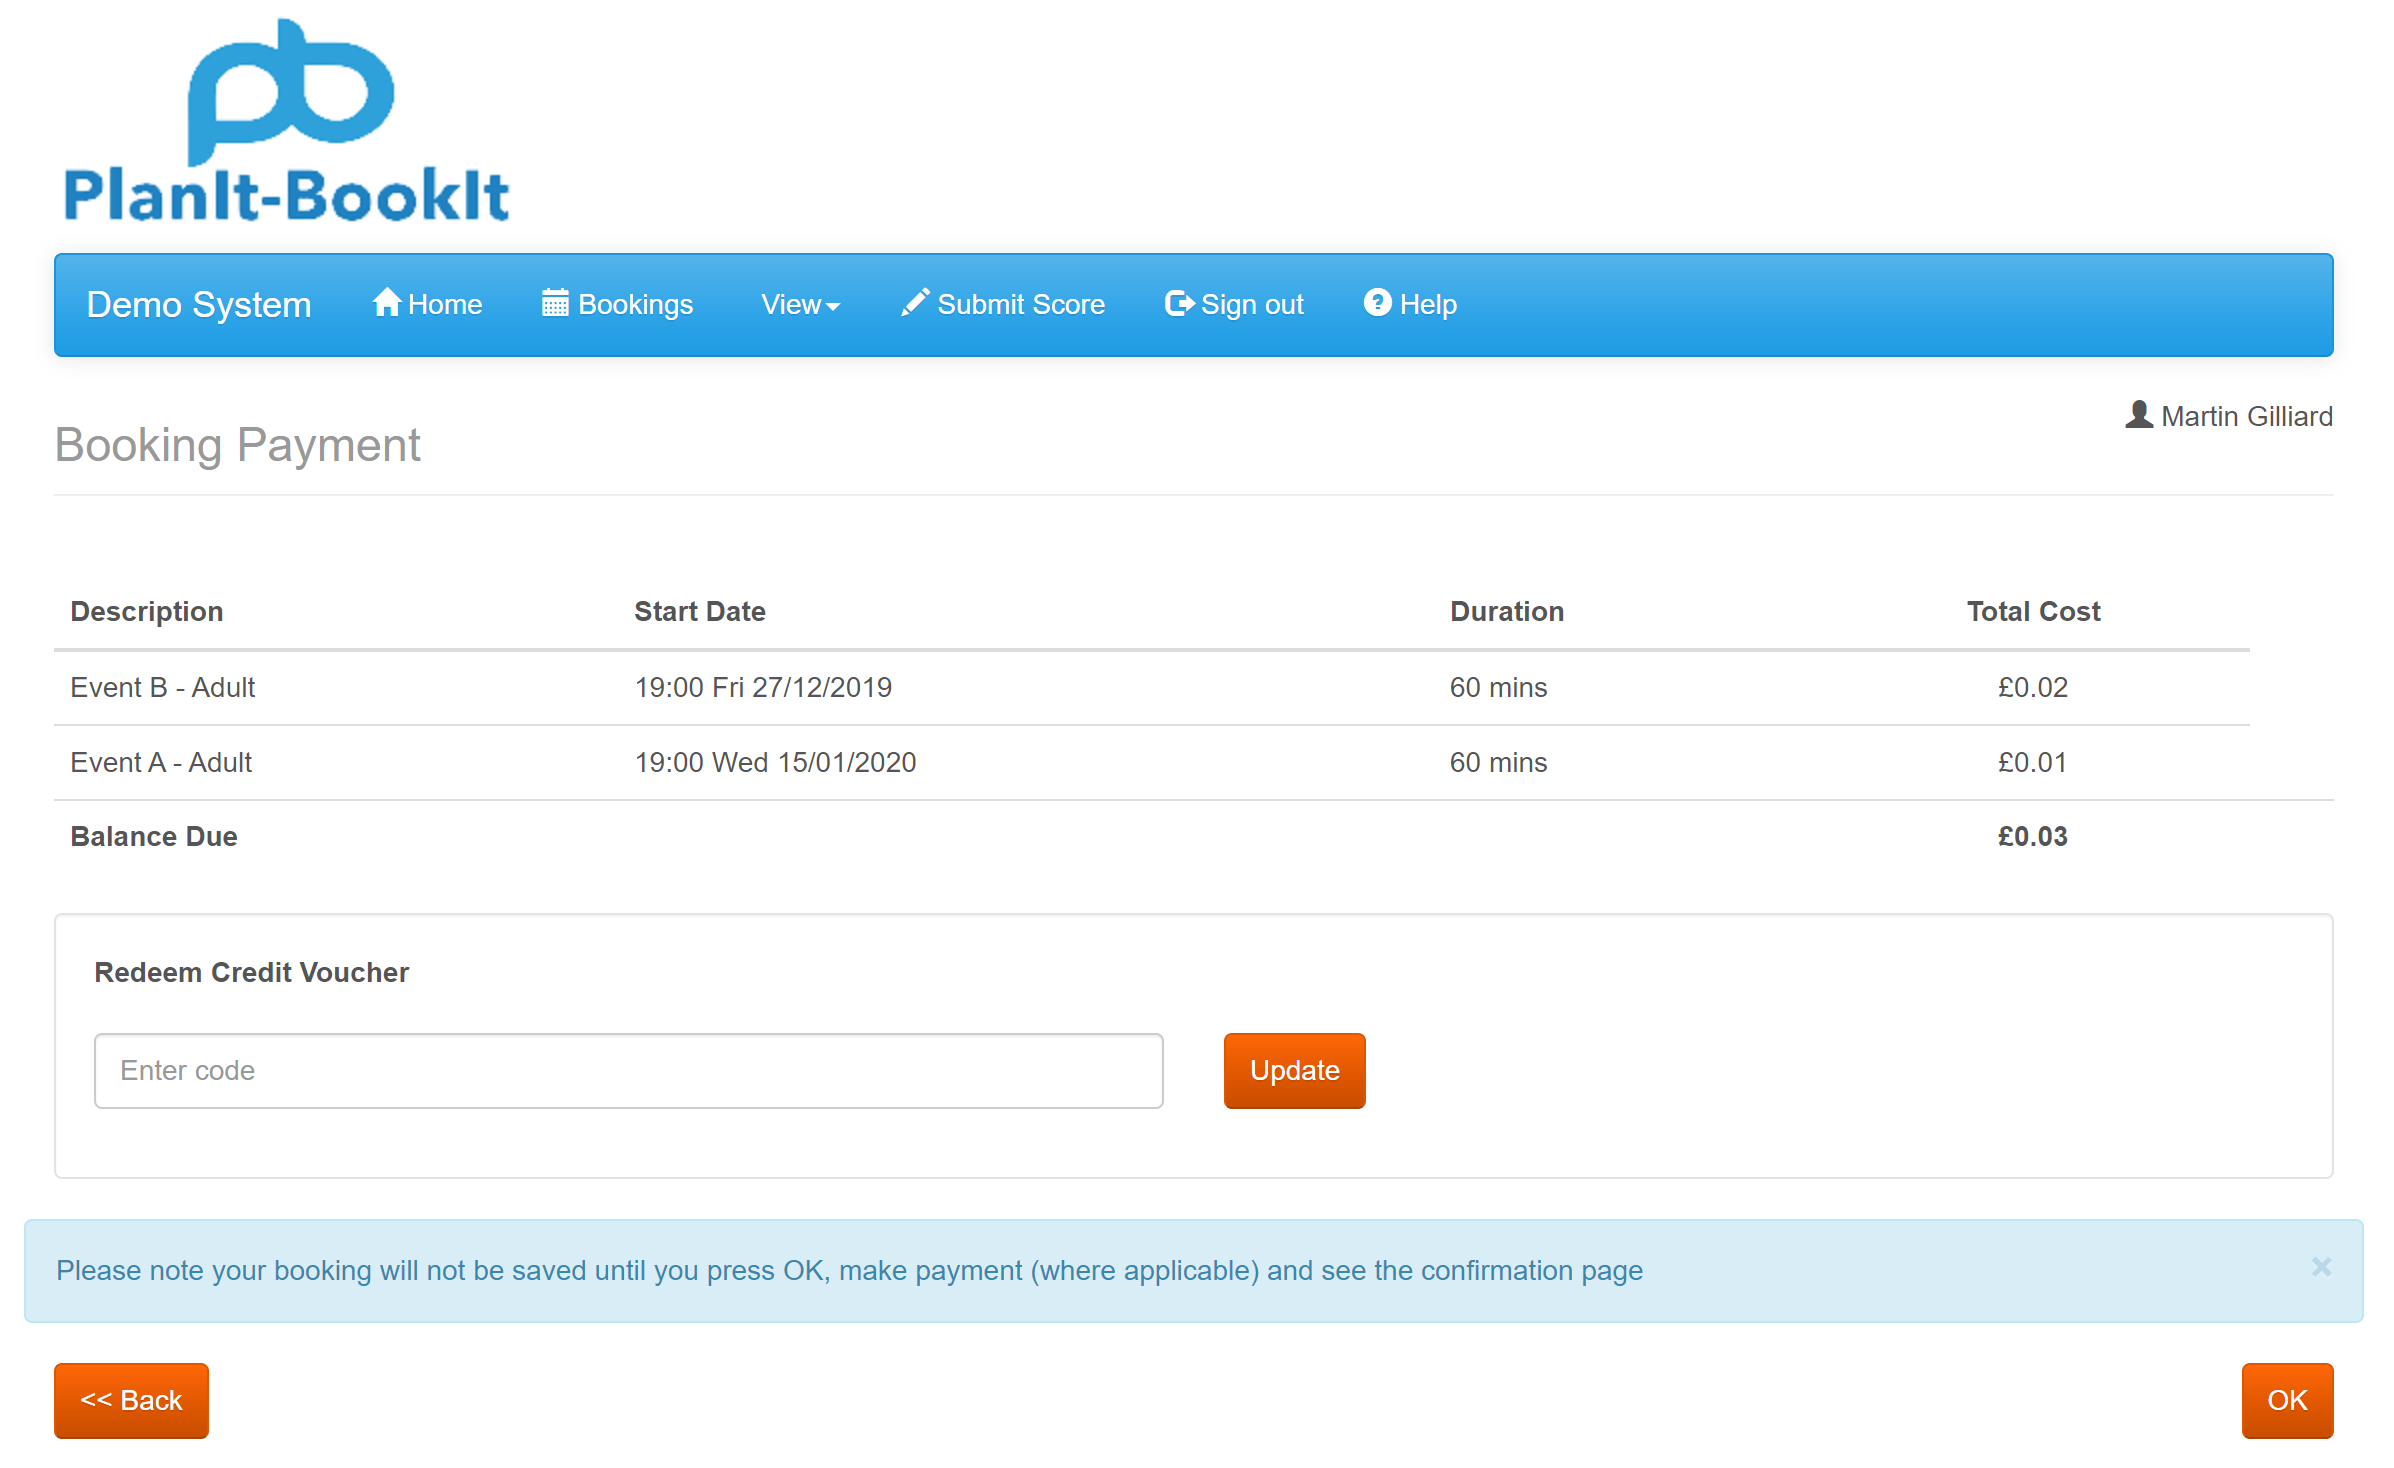
Clicking the Ok button generates a pop-up message that informs us that the booking has now been reserved for fifteen minutes.
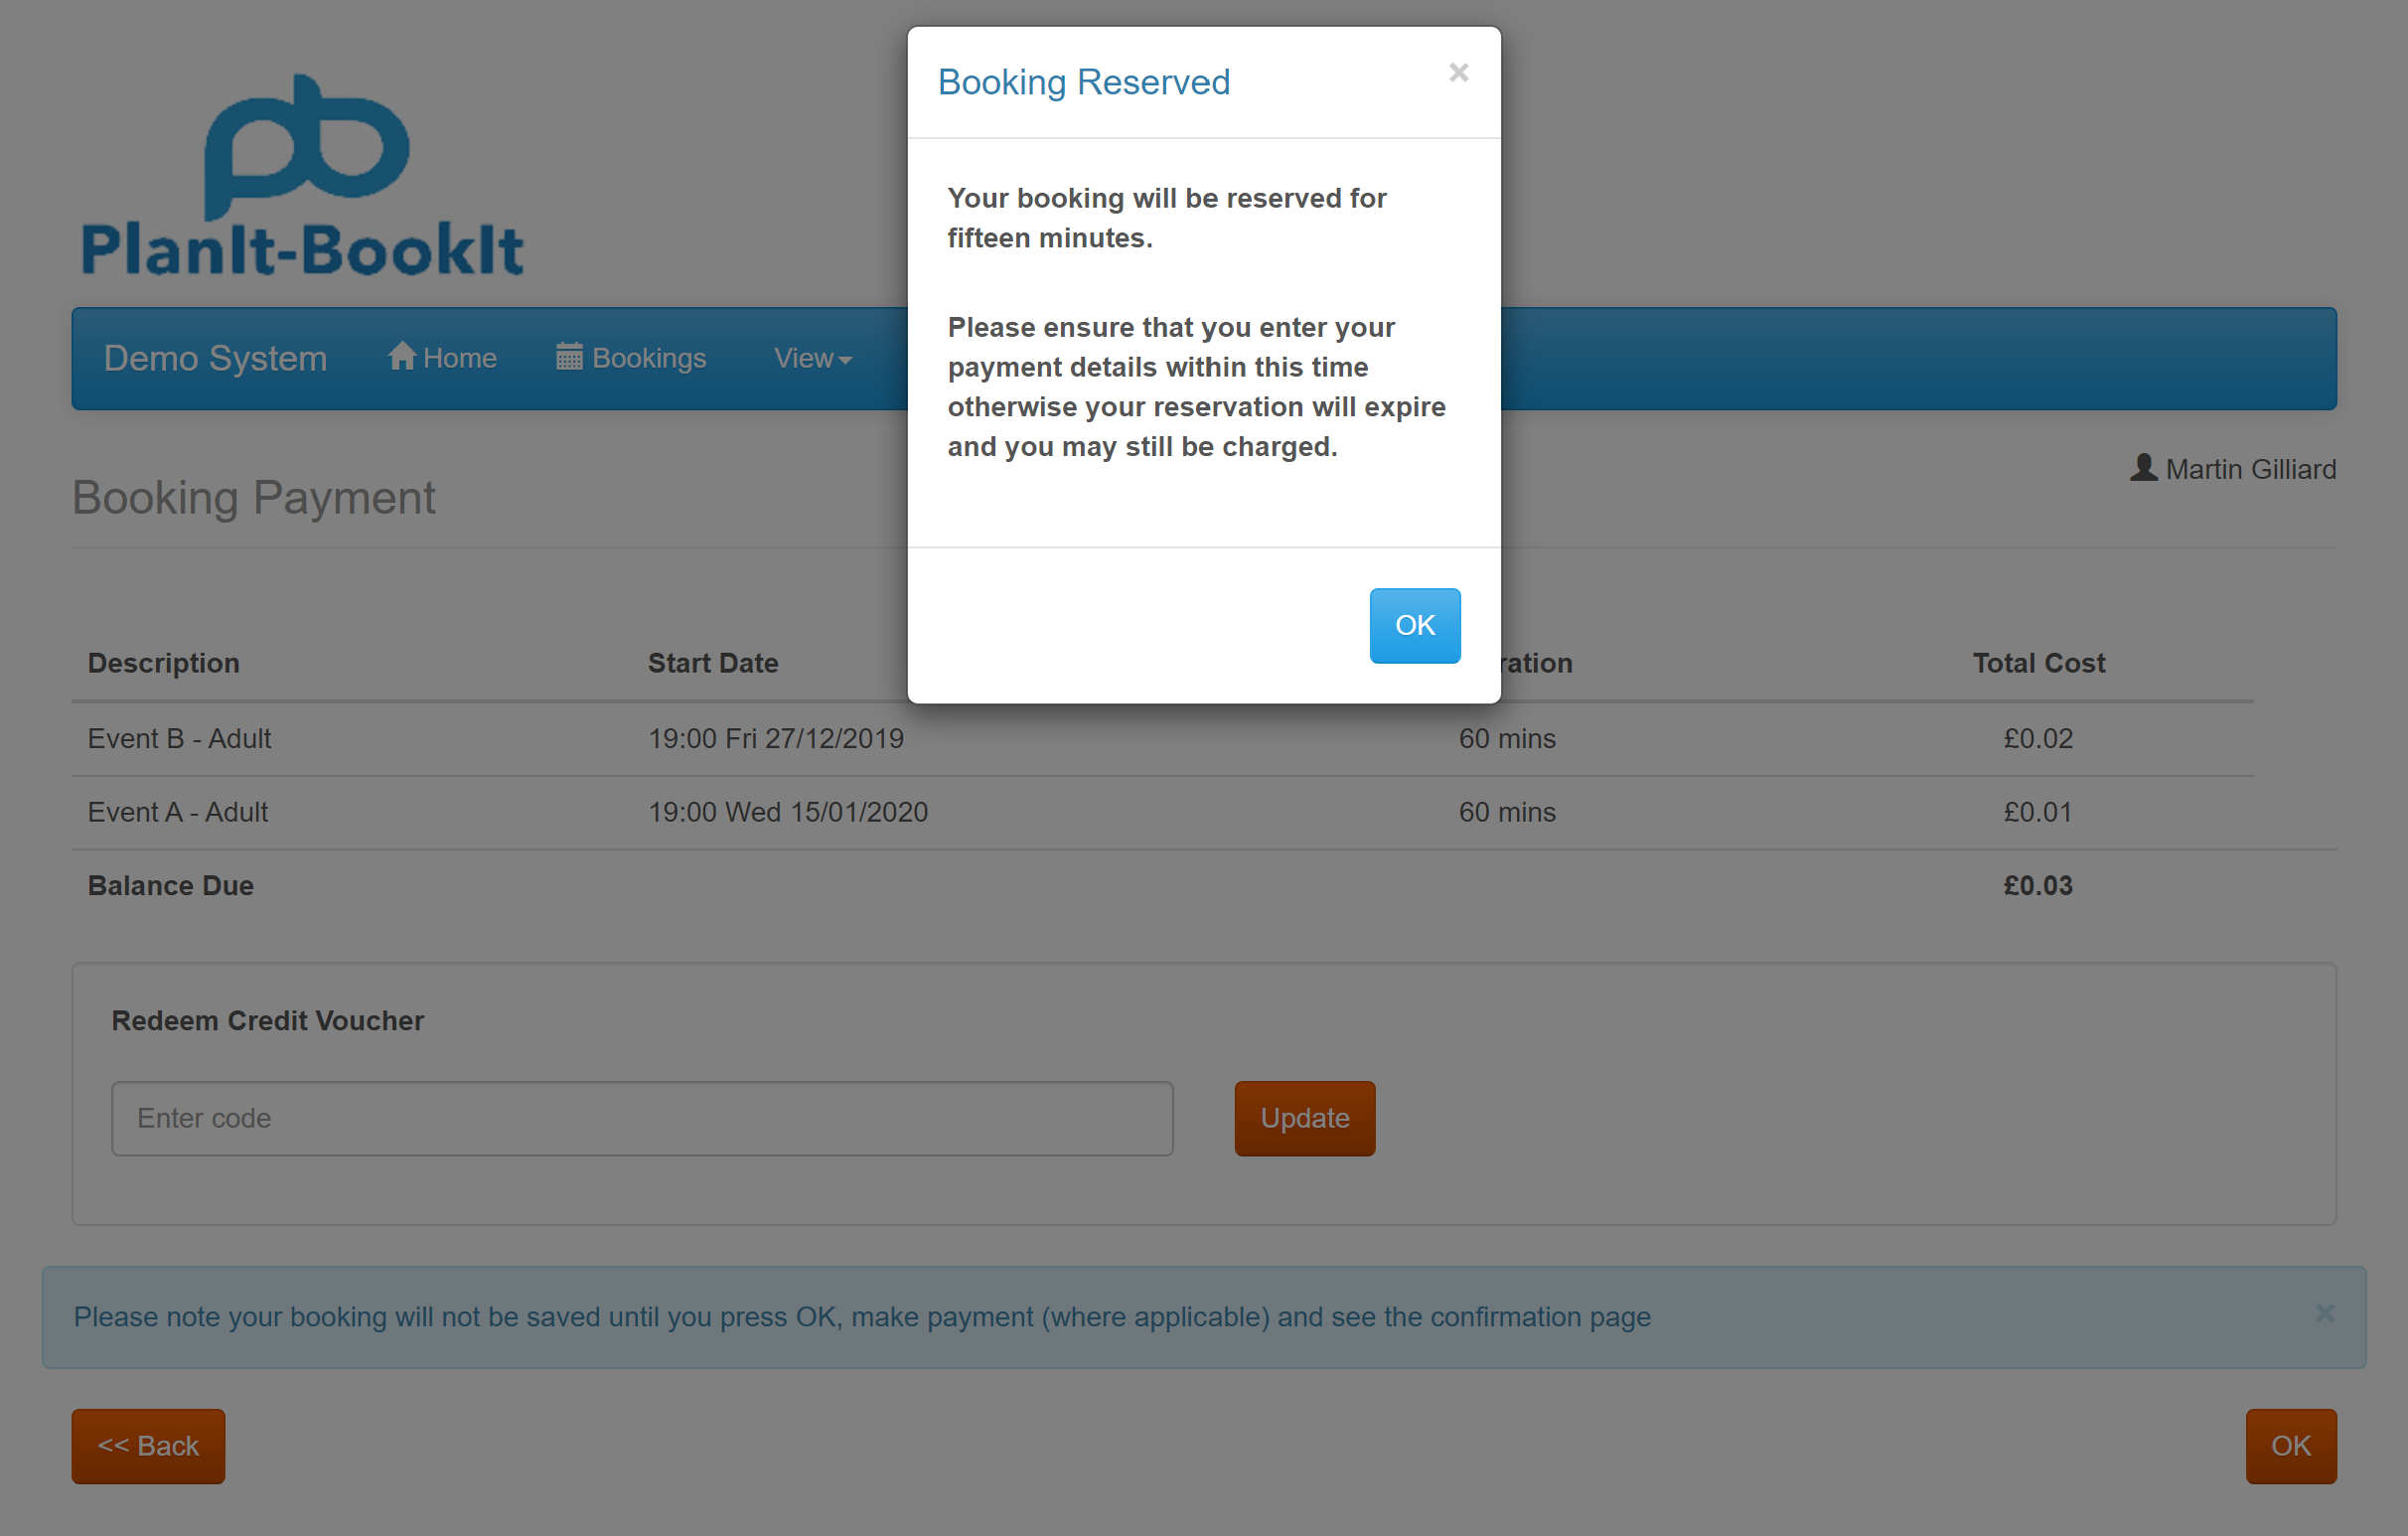
Clicking Ok on the pop-up message takes you directly to PayPal checkout where you can pay for your basket of events.
When you\’ve completed your payment within PayPal click their \’Return to merchant\’ link and you will be presented with the booking details screen.
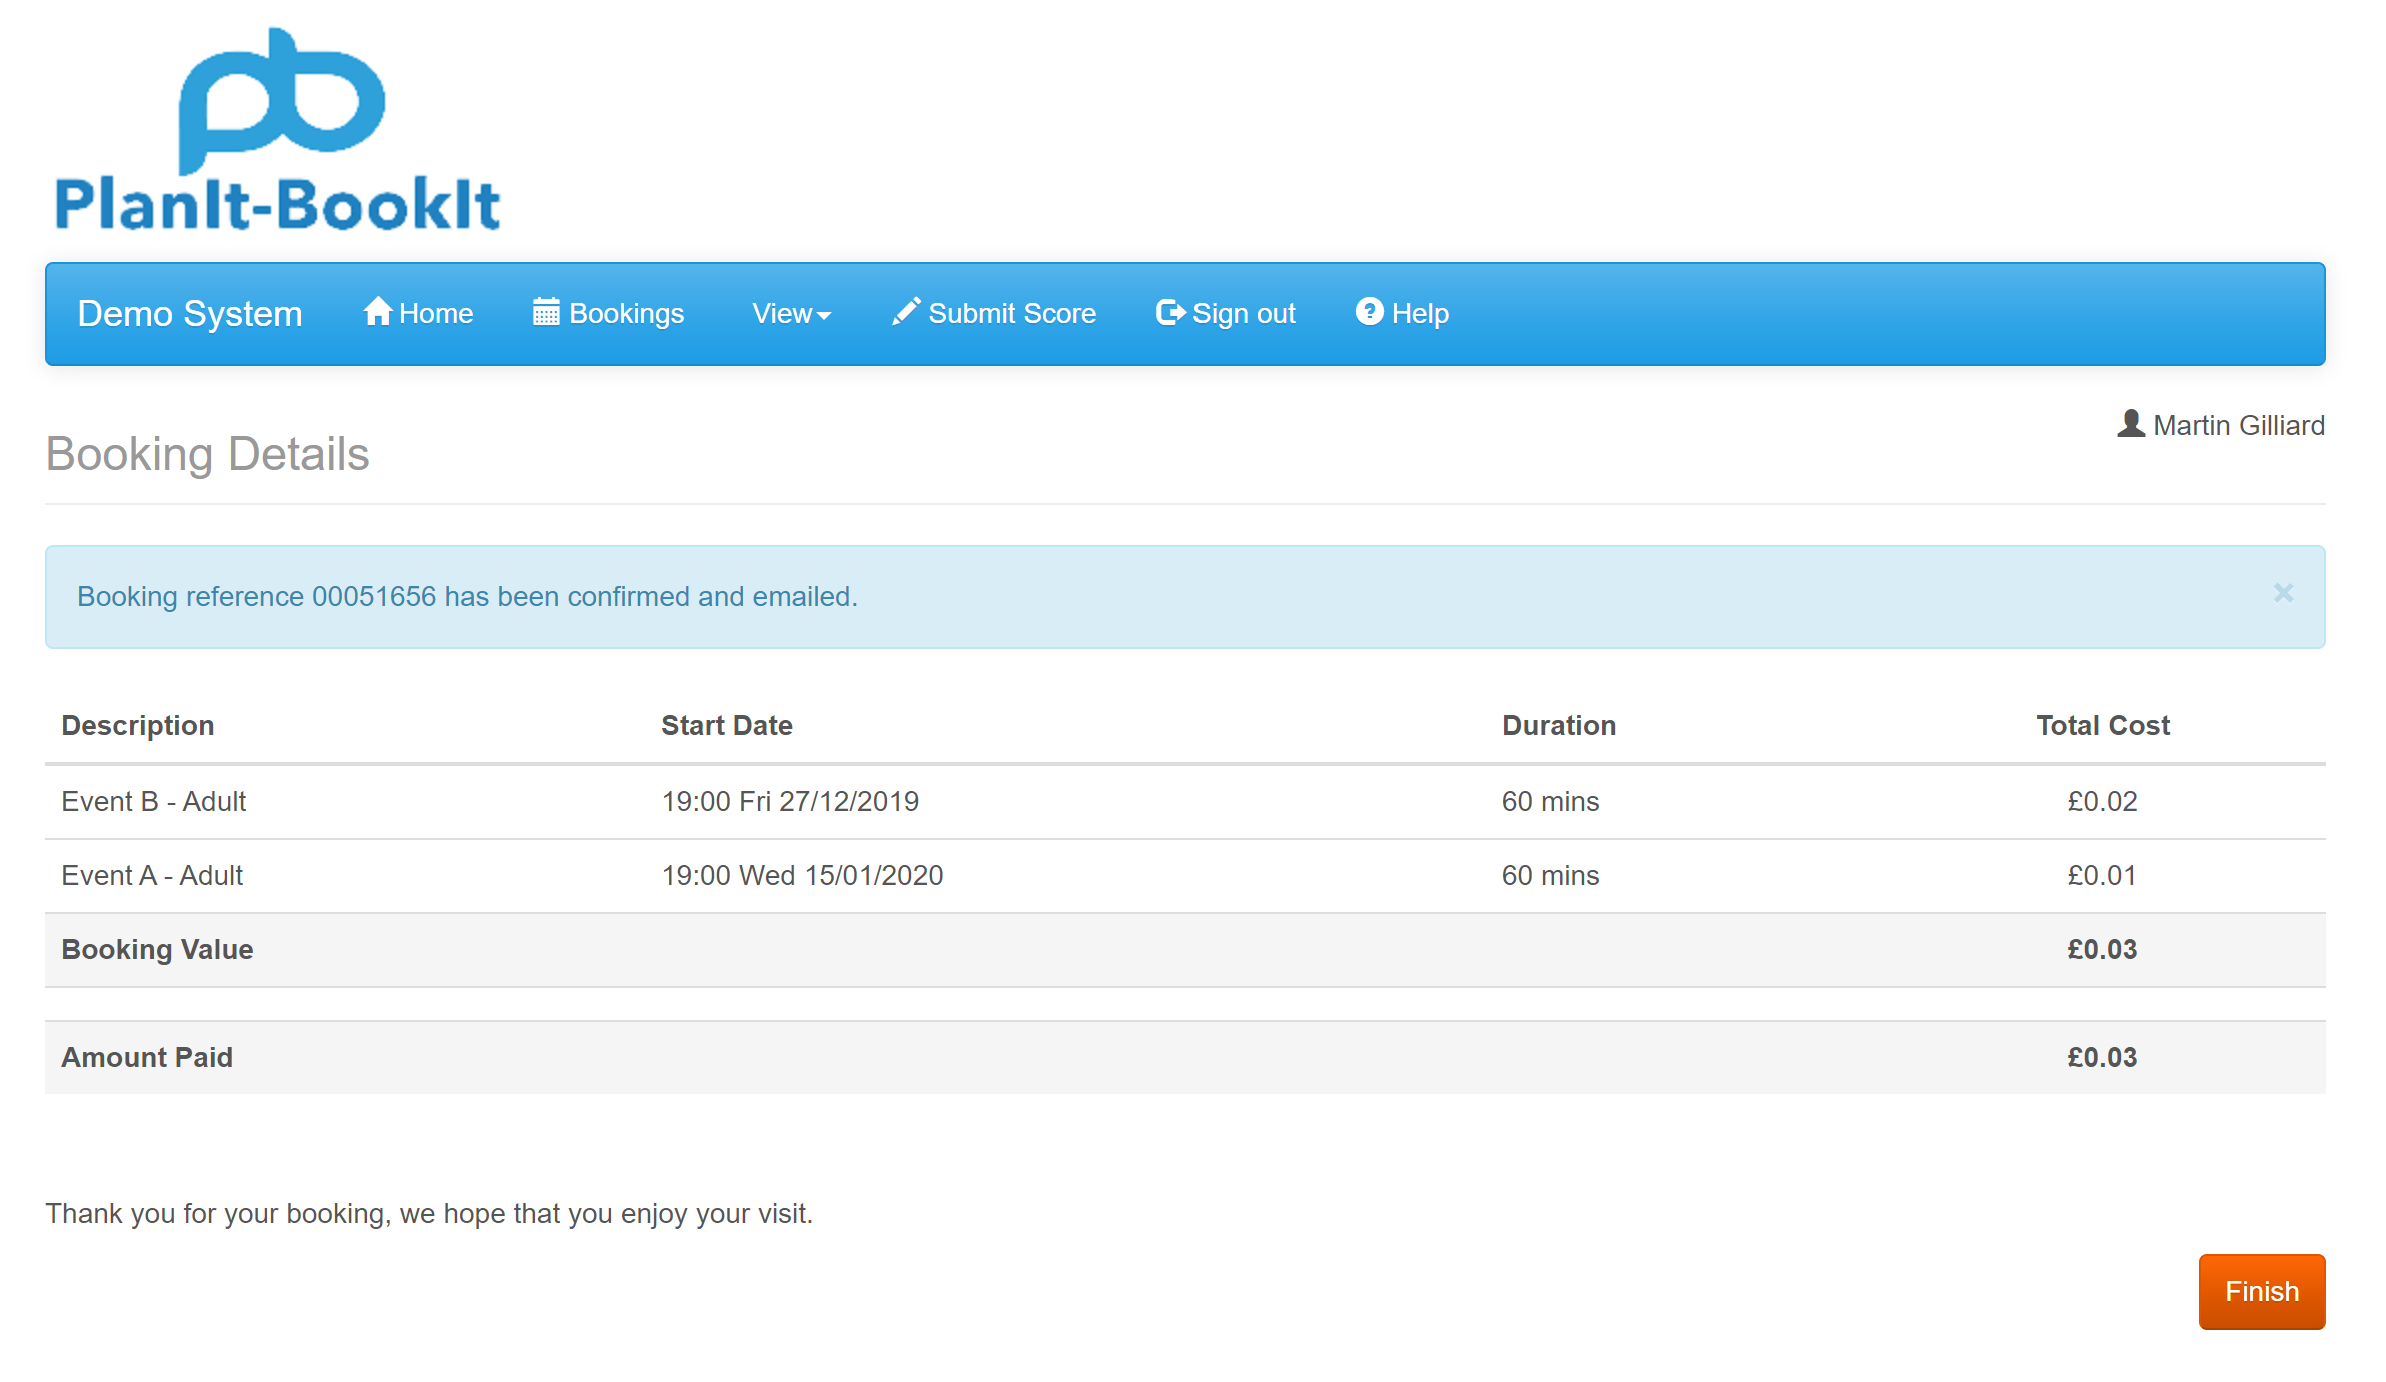
The booking details page details the events that were in your basket and the amount you paid for them.
At this point, the system should also send you an email for each event that you booked.
Clicking the Finish button returns you to the main PlanIt-BookIt home page.
